Hello
Well the weather
here today has been lovely, at one stage I was sat outside in a sun top for
half an hour while my floors dried...good excuse not that I need one – for those
who know me the minute the sun is out so am I...
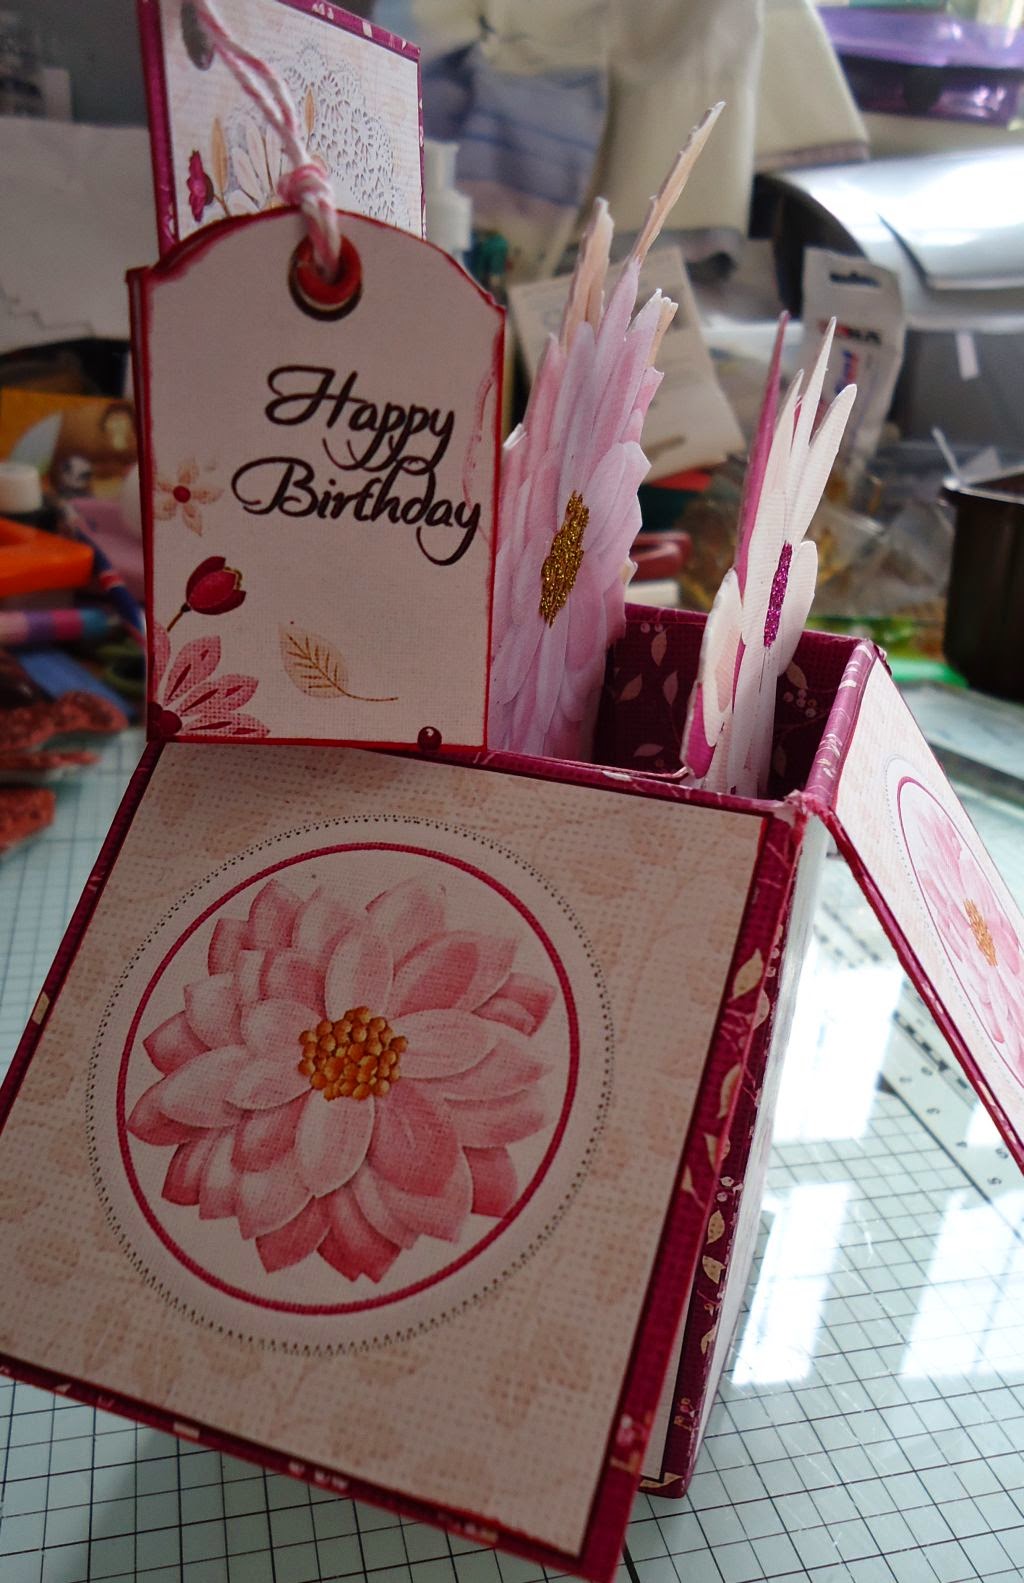
Again today’s
project isn’t a card – it’s one of the pop up boxes which is a mystery as to
where it came from or even who designed it, it was another thing I found on my
pc when looking for something else! You should all have a go at this, go to
your Start/Windows button and click, this will open up a new window with a
search box – type a word in the box then click on see more results, this brings
up everything on your pc that has that word in it...sometimes when I am stuck
for what to do I do that and spend a couple of hours sometimes looking at it
all.

So as I said
this is a pop up box which I made for a lovely lady who is a member of my
online forum and also comes to our annual craft retreat – Caz...its her birthday
today and I know she has received this as she replied to a message I sent her
this morning.
I printed out
the 3 sheets, and as I do when a sheet needs some strength I roughly cut around
the pieces and used stick & stay to hold the paper to the card, then cut it
out properly, a little hint here – if you have to score card, and especially
card that has a printed paper stuck to it, score gently on the right side 3 or 4
times then turn the sheet over and score again a few times but a little harder
this time, this should stop the card from splitting.

So now I have my
main pop up box, backing paper stuck on the inside, all cut out and scored so I
used strong double sided tape to hold it in place.
The 2 pieces of
card that are used inside the box to hold decorations in place was also attached
using strong tape.

Next I added the
printed panels to the flaps of the box, I used normal double sided tape for
this as these panels are for decoration not support.
There were just
2 pieces of decoration, both flowers so I stuck them to card the cut them both
out. Before sticking inside the box I added a blob of pva to the centre of the
flower and covered with cerise glitter. The next flower had the same treatment
but with gold glitter.

While they were
drying I cut out the 3 sentiment tags that were part of the kit, they had been
backed onto card, I punched a hole in them all and added a dark red eyelet then
slotted a length of pink and white butchers twine through the tags, I then
punched a hole in the back panel, top left corner and tied the twine through it.
The glitter was
dry on the flowers so I added strong tape across the bottom of each and stuck
then to the supports I added earlier.
I also printed
the envelope which I made up to send the card in – but had no actual postage
stamps so had to use my online account and print off the address label and
postage – doesn’t half spoil a pretty envelope, but it got there and the box
was in tact so job done!
Happy Birthday
Caz and my good friend Katie
More from me
tomorrow
Hugs
Angie
x
beautiful card Angie Caz will love it
ReplyDeletebeautiful card Angie Caz will love it
ReplyDelete