Thursday 15 September 2011

Fast Cars

I thought you might like to see this relatively plain and simple card

I was asked - short notice - to make a card for a 39th wedding anniversary

The guy who was to receive the card has interest in just 2 things....

FAST CARS or MOTORBIKES

So she wanted either of those but with the sloppiest verse going....

So after hours of searching I came across a sheet that I have bought from www.craftsuprint.com many many months ago


This is the finished card - the only thing that in my opinion made it special was the personalised tag which I did in Picasa

So to make my card I used a sheet of navy blue card stock, folded to make an A5 card blank - I added a piece of silver mirri card which left a narrow border of the card blank.

The base image was centralised onto the silver mirri board then I added the easy to cut out decoupage layers and built them using double sided sticky pads

The printed sentiment was then matted onto a piece of silver mirri card then mounted on pads at the top right of the card.

To finish I used glossy accents on the lights, the bumper lights and the needle on the speedo .

Black enamel accents were used to dot the centre of the wheels and the card was put to a side to dry!

This is the verse I added to finish the card!!!

As each anniversary comes around
it amazes me to say
I didn't think it possible, but
I love you more each passing day!
On that date 39 years ago
I married my soul mate
Which is why I'm always delighted
to celebrate this date!
Of course you have your little irritations
and I'm sure I have a few
No-one is perfect
but for me, you'll definitely do!
Life has had its ups and downs
we have had our share
But as always we will face them
together as a pair!
So on this special day
the day we made our vows
I promise you my darling
from me you'll face no rows!
On the contrary
you'll face only my love...
Happy Anniversary


Monday 5 September 2011

When Santa Got Stuck Up The Chimney

I tugged the bottle to get him out!!

Not quite how the song goes but certainly what happens with this card!!!

The sheet was purchased from www.craftsuprint.com and was another lovely movable sheet from Janet Briggs of www.toptoppershow.co.uk fame


So to make this wonderful and amusing card I used a sheet of shiny black A4 card which I folded to create the A5 card blank.

I cut out all the decoupage and followed the instructions on the sheet - they are straightforward but have to be followed or silly mistakes will be made - I know - I have made them in the past!!!

I cut away the fireplace which on the sheet is white to start me off

Then I added foam pads to the strip which had the roaring fire on it - again its all explained in the instructions - this is then attached to the base layer (fireplace) using just one strip of double sided tape!

Once that was lined up I removed the cover tape on the foam pads and attached to the back of the fireplace

The Santa tucked in over the padded side of the fireplace between the sticky pads and the double sided tape was a gap which enabled the Santa o move up and down.

With all the mechanics now in place it was a simple task of building the decoupage up

There is some tricky cutting on this sheet but worth that extra effort I think....

Once I had all my decoupage attached I placed it on my card blank using sticky pads

Below the image I simply used 3 scraps of red and green mirri card and overlapped then popped a circular sentiment on top which I had sprayed with Crafters Companion Iridescent Glitter spray before attaching

A red and a green star design card candy were added to each corner.

Now its time to decorate the card - so I used a quickie glue pen and glamour dust to highlight the hearts on the stockings as well as the garland and items on the mantle piece

Glossy accents were added to the plate, the bottle and the glass as well as the heals, toes and stocking tops

Red stickles glitter glue gives the candles a lovely glow and the 1mm tiniest red gems represent berries on the garland!


Pull on the bottle to see Santa come down the chimney....

A great card for any one - any age!!!

Thanks for looking again - please feel free to comment

Friday 2 September 2011

Christmas JOY

Another lovely christmas card for you all to see.

This is a 2 page kit from Lynzeys Place


So after printing the 2 sheets which are the main card and a sheet of decoupage, I sprayed the back of the main card sheet with Crafters Companion Stick & Stay and then attached to my sheet of white A4 card stock.

Once the decoupage was all cut out I built the layers using small 1mm thick double sided sticky pads until I had used all layers.

As with all decoupage I shaped the top layers using a shaping too and foam mat.

Once I was happy with the card I decorated it with a quickie glue pen and glamour dust - that was added to the pompoms and edges of all the hats

The snowballs were also glittered

And to finish I stuck 4 4mm red flat back gems to the holly to represent the berries....

The last thing to do - add my insert which for this card reads....

Beautiful signs of Christmas

are happening everywhere

And there's magic all around us

you can feel it in the air

With love at Christmas

All in all a lovely card suitable for any age group!

Diecut Delight

Ok so I have good intentions - but they dont always work as you are finding out!

I set up my blog with the idea of a card/project/suggestion a day

And look what happened - and look what happened.... it went pear shaped!

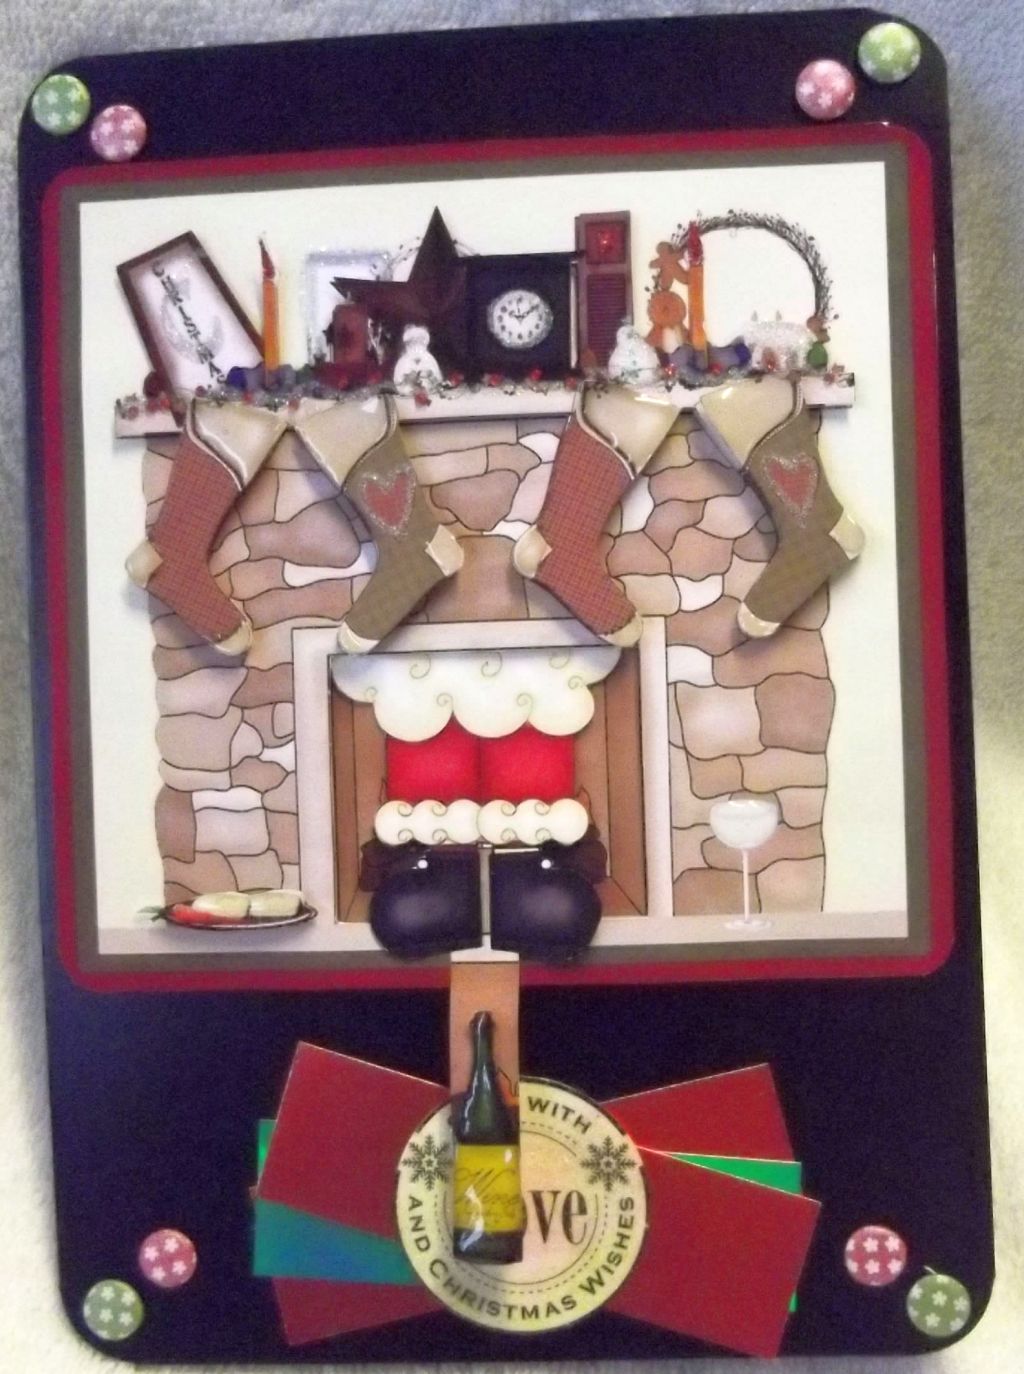
But here is my latest offering - it was put together as a project for my class.


For this project we used FB17, FB7, FB14 which also gives FB11 and FB13

A corner rounder or as I used a corner chomper
Also for the flowers I used a set of large floral punches (1 cuts the flower, the other embosses it) and a woodward small daisy punch. The butterfly is a Papermania/X Cut pop up butterfly which I cut from its base

I cut a sheet of silver mirri card in half length ways and 1 piece was enough.

I also used a scrap of black mirri card and smaller scrap of red mirri card.


I used a sheet of matt black A4 card and scored it at 12cms from left side and folded.

Next I folded back the large square panel - this was turning the large point and tucking under the small point - its easier than it looks or sounds!

The smaller panel inside the square was next - again folding the larger curve and slotting under the smaller.

I then attached these to silver mirri card, butting them to edges so as not to waste any and also to ensure all panels fit on ok. Then using my corner chomper I rounded the corners on the large square only

Cut around the panels and the fixed the large square to my card approx 2cms down and 0.5 cms from either side - I used double sided tape to hold in place

Large double sided pads were used on the back of the small square panel and this was attached in the centre of large square

Under this panel I used a scrap of white card stock and matted a silver dufex type sentiment and a silver mirri pop out butterfly sat in the corner!

Next I folded the 3 other panels - its a matter of personal choice as to which pieces you fold over - once I did one corner I followed the same pattern for the whole square - once all 3 were folded I again stuck them to the remaining mirri card and cut out with a narrow border all around these panels.

As the 2 larger squares were the same size I attached one at the top and the other at the bottom of the right hand side of the card - just mms from the edges which allows the black card to show through - this gives the impression of extra matting and layering!

The smallest fold back panel was turned and attached to show a diamond shape in the space between the top and bottom panels leaving an equal space at top, bottom and right hand side.

On to the flowers - using the black mirri card I punched out 3 large flowers then put them into the embossing punch, and cut 4 small red daisies and just 1 small black daisy - again from the mirri card

I gave a little shape to the punched flowers using a shaping tool and foam mat - simply put the punched flower colour up and press the tool in the centre firmly - the petals them cup the tool.

Using flower soft glue I stuck a large black flower to the centre of the panels on the left hand side with a red daisy in the centre - this was then repeated on the top and bottom panel on the right hand side.

The centre panel simply had a small red daisy with the same size black daisy attached but turned so you see red and black petals alternatly

I raided the gems box and found I didnt have enough of anything nice to complete all kits for class so when I came across a bag of pink star shaped gems I was so pleased to find they were silver on the back - so flipped them over and attached one to the centre of all panels!!!

Also in the box was a pack of matt black flower gems so I attached one to each corner on the inner panel to finish the card in general


As I had used a Best Wishes sentiment the verse I added to my insert reads....

I made this card with great care
And added a dallop of niceness
Then sprinkled on some pure love
And thats what makes it priceless

And its just for you....
Have a lovely day

This was simply cut down to fit and attached with a small piece of double sided tape

The insert was done on UVID (ultimate verse insert designer) so it was a verse from there and I set it to standard A5 size but selected print to centre of page as the insert needs cutting down a lot to fit.

As this card is an odd size an envelope was going to cause a problem - so I bought a pack of white A4 envelopes (Asda do a pack of decent quality at 99p for 20).

I placed the card on the envelope - at the top so I could still use the sealed part, I marked approx 3cms below the bottom of the card and cut the excess envelope off using a paper trimmer to give a straight edge, then used a corner rounder on the cut edge corners, scored a line 0.5 cms below the bottom of the card, added a strip of broad double sided tape then folded and sealed!

Result - one perfect envelope - nobody would know it started life as an A4. And it was a fraction of the cost of buying odd sized envelopes - and easier than making one from scratch using an enveloper!

I hope you enjoyed this project as much as class members did!

See you next time....