Hi
It’s another
late entry, I completely forgot until hubby asked what card had I put on my
blog today, it’s a 1st because like most men he doesn’t generally
take much notice!!!
Its my good
friend Ann’s birthday today – Happy Birthday Ann, and I decided to make her a
card that is similar to lots of others I make – just because she always
comments on them and says how nice she thinks they are.
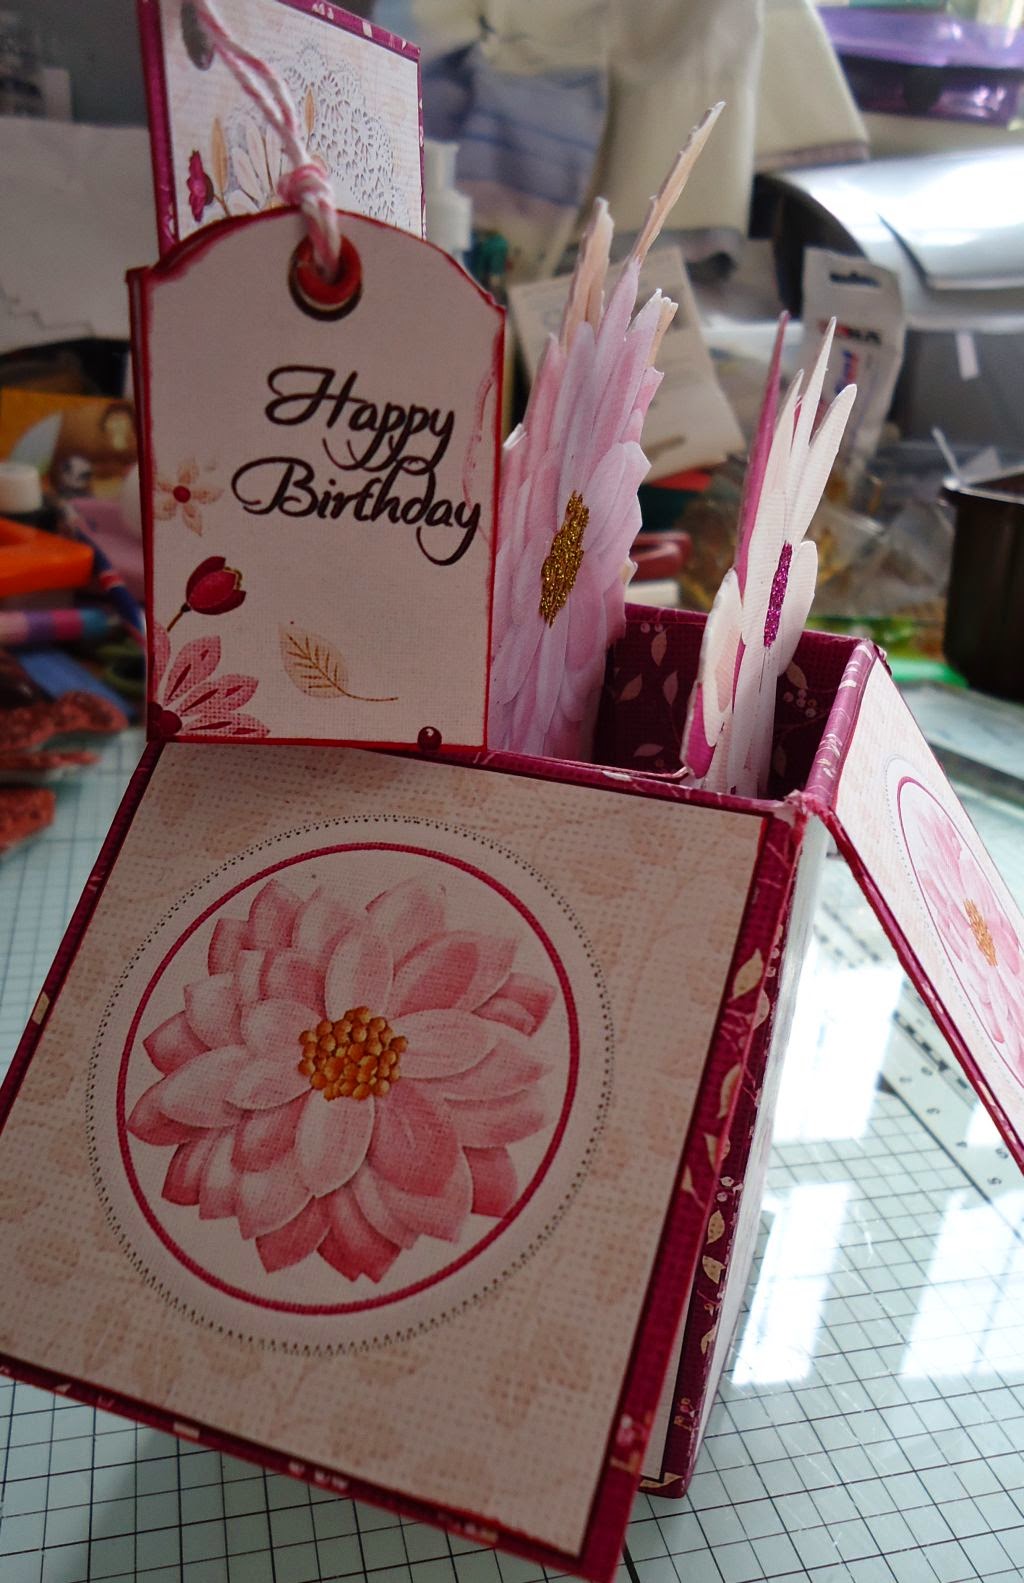
I have used the
Cupcake Crafting Bloomilicious cd – so now you know where I am coming from you
should know what to expect!
This is set 7
the blue and lemon flowers – I think they may be Iris but if I am wrong please
correct me.

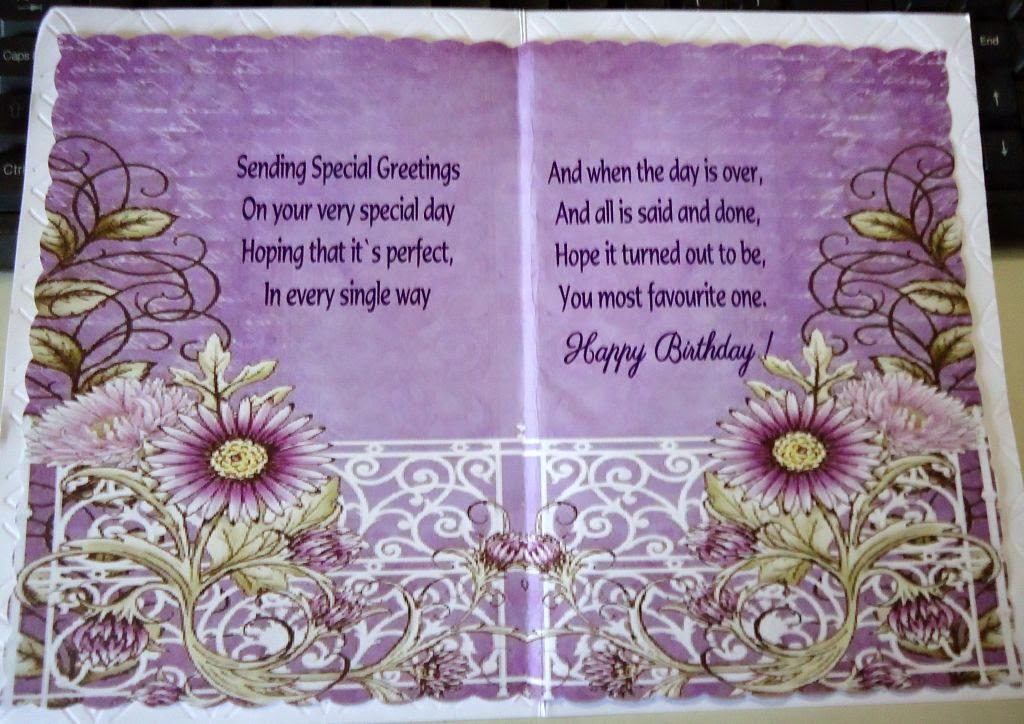
I cut the centre
from the insert, removed the printed white borders then folded into half and
both sides in half again for the gatefold. I used a full sheet of backing paper
to cover the inside of the card then added the insert which left a border along
the left and right edges. I used some fine metallic thread and secured it at
top and bottom of the insert centre and used 2 pretty lemon circular sentiments
back to back with the thread running through it.

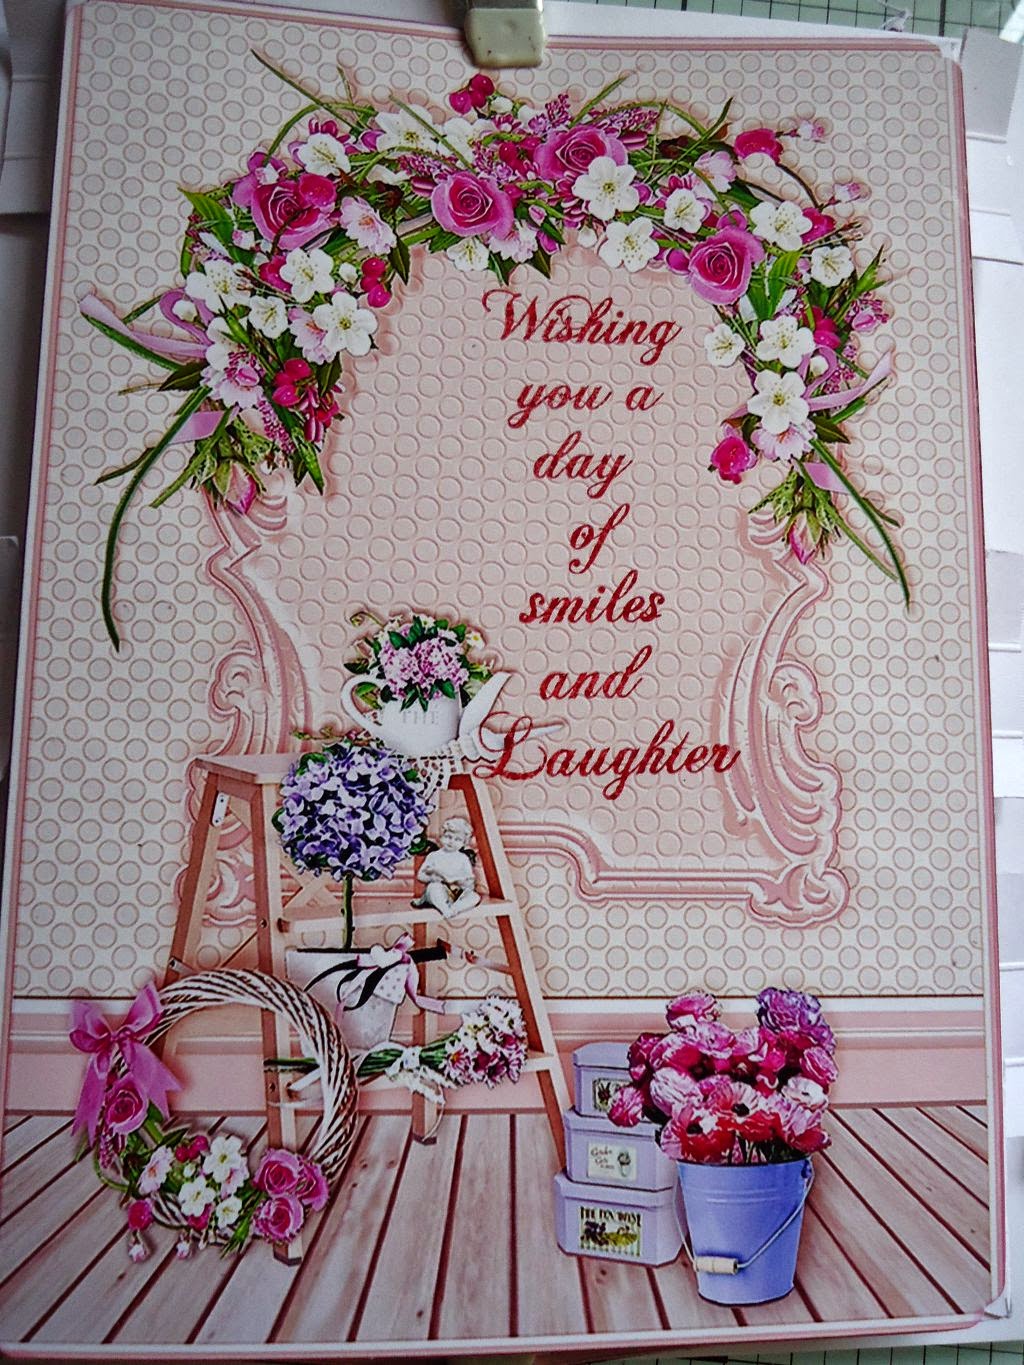
For the card
front I used a deckle edged blade to cut a piece of backing paper to fit, stuck
this in place using double sided tape.
Then I cut out a
mat from lemon adorable scorable using an X-Cut die, this was stuck to the card
front slightly over to the right as I used some beautiful lemon organza ribbon,
I went around the spine with it and secured in the centre, and tied a lovely
double bow and this was stuck over the join using a large sticky dot.

My decoupage was
carefully cut out and built up using Pinflair gel I believe, the top most
pieces were shaped before putting into place.

I struggled to
find a suitable sentiment, I have lots of general sentiments in a rainbow of
colours thanks to the fab parcel that arrived from Dianne Jackson of Diannes
Diecuts, but I couldn’t quite match up with the flow of the card so my bumped
box of all manner of sentiments, mainly what have been left over from sheets
and kits or printed from cds, and I came across a sheet of butterfly shaped
foiled sentiments – what could be better – a butterfly to go with the
flowers!!!
And it was in
the right colour too, that was glued to the bottom right hand corner with
Cosmic Shimmer pva glue. 3 clear ab gems were glues to the bottom corner under the butterfly

And that
completed the birthday card, I enjoyed the cutting out and they always look
lovely with the cut out centres.

Right then
friends, that’s me finished for tonight, time to turn off the craft room lights
for another day!
But as always I
will be here again tomorrow, hopefully at a better time too!
Hugs
Angie
x