Hi
I have a
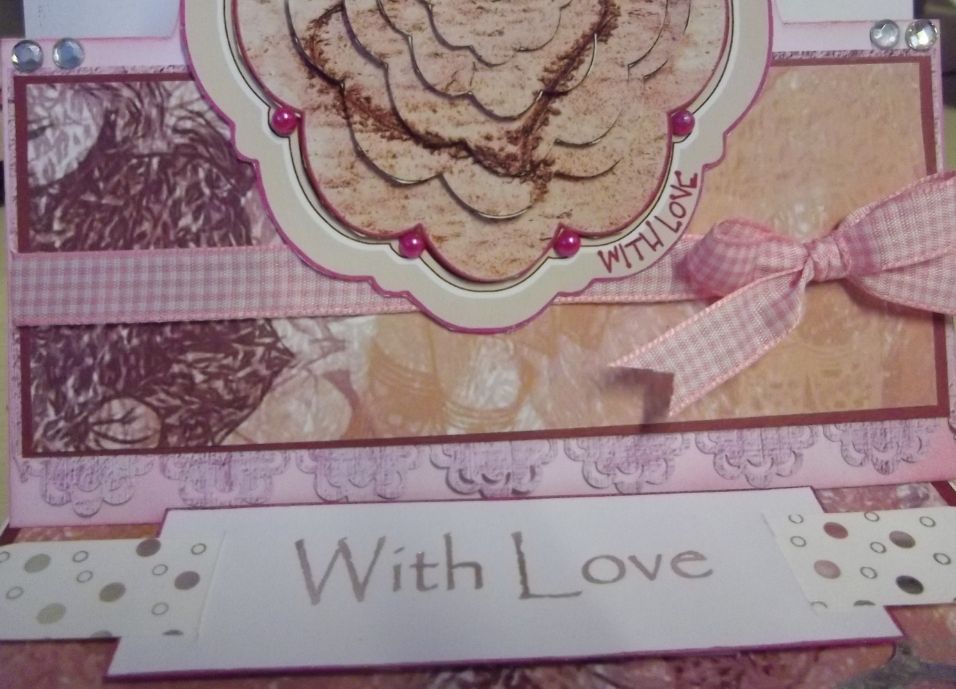
really sweet card to share today – its from one of the newest cds
launched by Sarah Hallam of Peerless Designs fame. Sarah draws and
paints all her artwork so we know when we buy one of her cds it
really is all original. The cd I used today is Through The Lens
Ladies Edition and you can find out more by checking the website
through this link
http://www.peerlessdesigns.org/
On the
sheet I printed I had 2 images the same but one was pyramage and the
other 3d decoupage and not just basic shapes either – Sarah used a
fancy label type shape on this set.
And the
backing papers would be enough to make me want this cd.

So
materials for this card I used ….
Heat mat
to work on and protect your surface – I always use it...
The 2
sheets – that image and backing paper
6x6
Elegant square easel card blank by Craft work cards
A small
piece of contrasting pink backing paper
A5 piece
of burgundy card
Pink
gingham ribbon
Tonic
scallop flowers border punch
A strip of
silver foiled dotty card
A large
silver foiled sentiment
A small
silver die cut flourish
Assorted
gems and pearls
Victorian
velvet Tim Holtz distress ink pad & applicator tool
Sticky
pads
Eazi Score
Board & tool
Tonic 8”
guillotine
Scissors
Tweezers
Shaping
tool from www.dimensionstamps.com
Foam
shaping mat – stamping mat or even a mouse mat

To
make the card …
I folded
and sharpened the pre scored card blank then used the ink pad and
applicator tool to colour the shaped top of the card blank.
I trimmed
the contrasting backing paper to fit the small front panel then
punched along the bottom edge
Next I
trimmed the burgundy card to fit the paper with a narrow all round
border and stuck in place with double sided tape.

The
backing paper was cut into 2 pieces – 1 was put away for the other
card.
I cut a
small panel from the top of the sheet and glued it to the panel I was
building earlier

Before I
stuck this to the card front I wrapped a piece of small gingham check
pink ribbon around the panel and tied a bow to the right...then the
panel was glued in place on the card top.

After
cutting out the pieces of pyramage I used large sticky pads to put it
together, I used the pink ink and applicator on the back as some of
this would show above the card.
Once that
was all done it was stuck to the panel on the front.

To do the
easel base was simple – I trimmed the rest of the burgundy card and
stuck it on the card base
The rest
of the backing paper was cut and stuck in place
The strip
of silver foiled spotty card was trimmed and had the corners rounded

The
sentiment was trimmed slightly and I used a Smirk pink glitter pen to
colour the edges, then using a sharp knife and a rule I put slits 1cm
in at each end then slotted the spotty strip through it

This was
my stopper so it was raised quite high using sticky pads – when I
came to position the stopper I checked it would be below the pretty
little girl on the backing paper.
Lastly a
little embellishing...I stuck a small silver mirri card die cut
flourish to the bottom right corner and added small pink pearls to
the swirls and the same pearls went on the main pyramage image.
I used 5mm
AB clear gems – 3 along the bottom left side of the base then 2
along the top card front either side of the image
And that
completed this card. I have had both the images made up for a couple
of days but just couldn't decide what to do with them – I didn't
want to do just a plain A5 card as I think this image deserves
something a little different
I was up
all night again so when I was looking for an envelope I spotted the
pack of cards and that was it everything fell into place!
Like most
of the cards I make and show on here I don't have a use for – they
simply get dropped into the box although occasionally I do get asked
to sell them which I do
Right
that's all for today – same place tomorrow!
x
Beautiful card xx
ReplyDelete