Hello
I received
my copy of Debbi Moore's Crackerbox Mice this week and I love it!
It is very
different from the cds Debbi usually makes which was why I decided to
order it
You can get
the double cd rom from Create and Craft or direct from
www.debbimoore.co.uk

So
materials for this card I used ….
Heat mat to
work on and protect your surface – I always use it...
White A4
card stock
Printed
decoupage sheet from cd
Backing
paper from cd
Brown card
stock
Gold
patterned card stock
Small scrap
of dark red card
Assorted
daisy type flowers
Brads for
the flower centres
A piece of
orange spotty ribbon
Tonic border
punch
Gold corner
peel off's
Sentiment
Glossy
Accents
Double sided
tape
Sticky pads
Pinflare Gel
Eazi Score
Board & tool
Corner
Chomper tool
Crafters
Companion Glitter Spray


To
make the card ...
I scored and
folded the card in half – that's line 7 (A4 half fold) on the Eazi
Score board then scored the front panel on line 4 (A4 gatefold) to
create the basic stepper card.
On the top
piece of the stepper I measured along the fold approx 2” (5cms)
from the outer edge in on both sides – then drew a line from fold
to edge and cut this away to leave the easel just in the centre of
the front as shown in the photos.
Working on
the base of the card I added a piece of patterned gold card to fit,
trimmed the excess and the rounded all 4 corners
Next I
trimmed a piece of brown card to leave a border all around and
rounded the 4 corners – then using double sided tape attached this
to the card base
The backing
paper was then cut down and had the corners rounded and fixed it in
place.
Using a
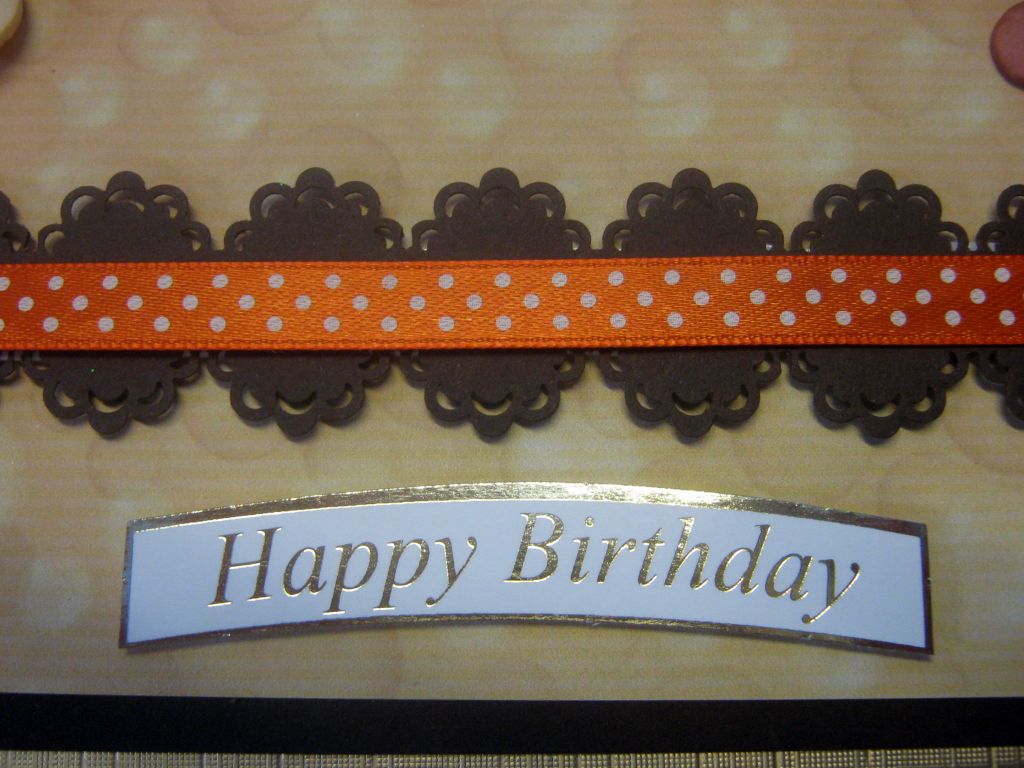
length of brown card I punched a border along one side – turned it
round and did the same at the other side
The length
of orange ribbon was placed over the punched border and secured at
the back – this panel was then stuck to the card base using thick
sticky pads – I positioned it about 1/3rd up from the
front of the card to act as the stopper.


After
rummaging through the oddments of flowers I made up 2 clusters of
foam and glitter papers flowers that were held together by
brads...pinflare gel was used to secure a flower to the top left
corner and the other just above the stopper at the right hand side
I finished
the base by adding an odd Happy Birthday sentiment

For the now
small easel I covered the lower part with backing paper
After
cutting the image and decoupage pieces I stuck them all together
using tiny sticky pads.
I matted the
base image onto a scrap of dark red card – as usual I made sure I
had an equal border showing between each layer.
I stuck this
panel to the bottom piece of the scored easel then used the Crafters
Companion glitter spray to cover just the decoupaged section.
To finish I
added very fine gold peel off corners to cover the red and yellow
layers of the design and then 2 slightly bigger ones were added to
the main image top corners.

I had heard
people saying they really didn't rate this cd but I disagree – I
think its lovely...and looking at the card I made – don't you?
See you
tomorrow
x
I love this card! Very cute image and an unusual layout! Perfect for anyone. Pauline x
ReplyDelete