Hi
Yet again I am
skipping days – I am struggling to get cards made and also where does the time
go?
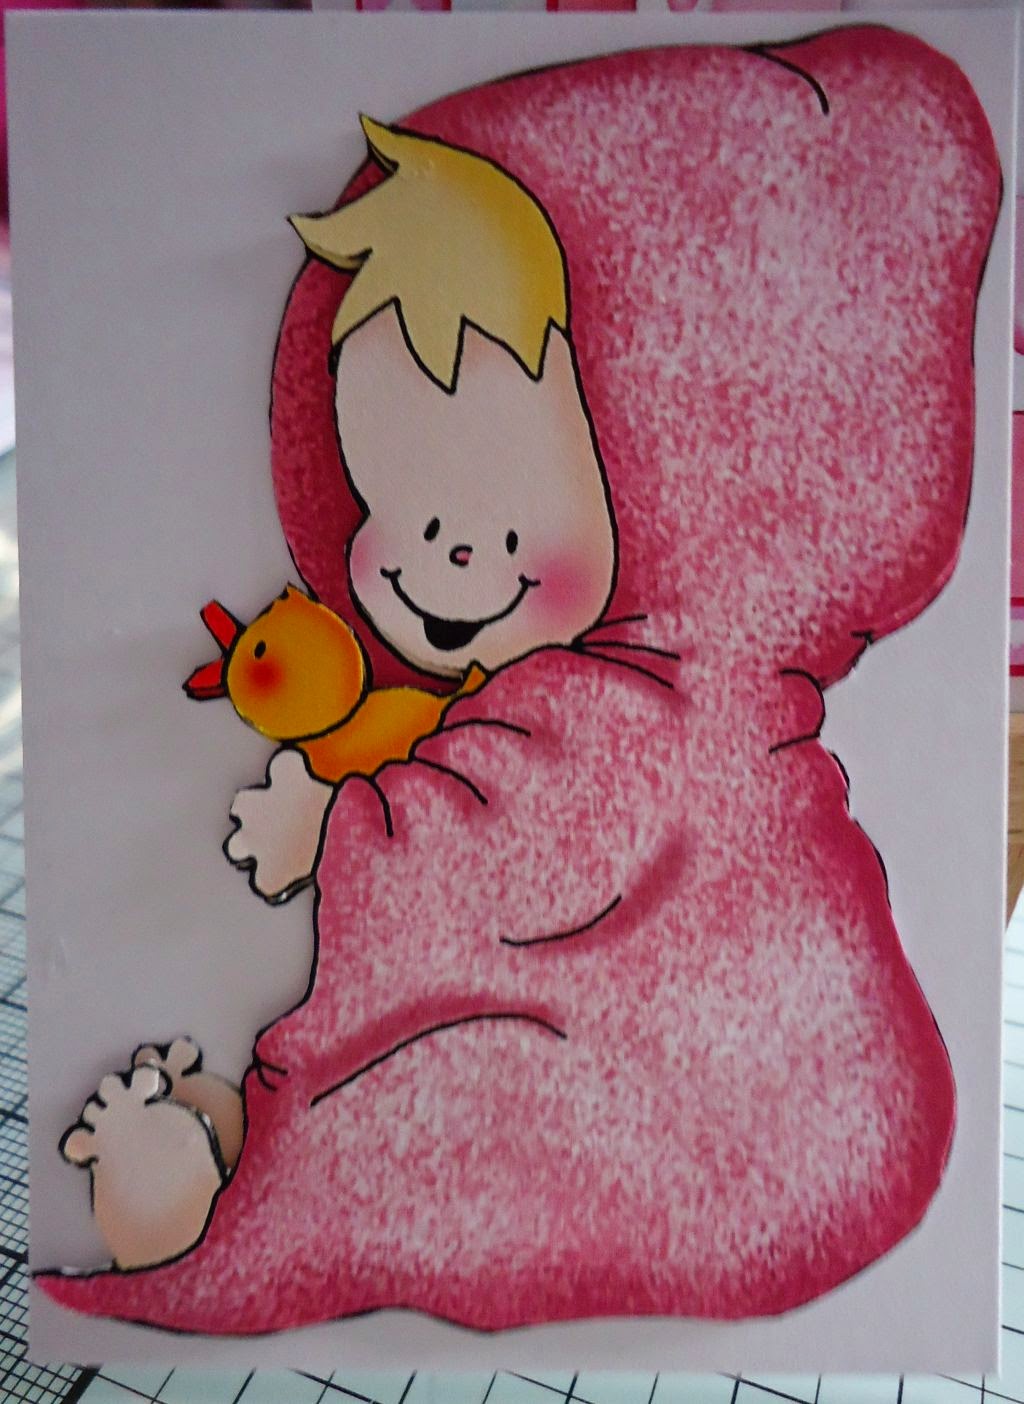
This card is one
I put together a few days ago and I think it’s really sweet
The kit is by
Janet Roberts and is called Chloe in a knitted hat, where it was bought I
really don’t know – sorry

I started by
trimming away the excess to the main stepper sheet, sprayed the back with
Crafters Companion Stick & Stay then smoothed on to a sheet of white 350gsm
card, cut it out and scored along the score lines, and that was the perfect
stepper card base sorted.

The main sheet had
the topper and then 4 or 5 sections of decoupage – I used tiny sticky pads for
the decoupage and shaped the top pieces.

I cut out the 4
pretty pink butterflies which had tiny hearts over them so using the quickie
glue pen I covered the hearts then sprinkled with glitter; I used a little
cosmic shimmer pva along the body of the butterflies and stuck 2 on each of the
side panels.

I couldn’t
decide which sentiment I liked the most so used 2, With Love and Birthday
Wishes. I added these to the bottom panel, one at each side of the topper, I
just used cosmic shimmer pva to hold the heart sentiments in place.

This card really
didn’t need much in the way of decoration so I used the quickie glue pen to
highlight the butterflies on the boots and the one on the knitted hat.
Last thing I did
was add glossy accents to the collar and pocket of her dress and the hair
bobble.
Oh and there is a matching gift card to go with this kit.
I think I might
have to keep an eye out for this designer as this kit is really pretty and can
be used for girls of all ages, I would be happy to receive it myself.
Not sure if I
will get to share anything this weekend as it’s my lovely grandson Laytons
birthday tomorrow so I am going to join them for a little shopping trip for
Layton to chose his pressie, then off to lunch... after that Layton is going to
cinema with his mum and auntie so I will have a wonder around the shops then
head off to my daughters as I am spending the weekend with them, more because
its Mother’s Day on Sunday
So all I can now
say is have a lovely weekend – and all the mums out there – I hope you have a
wonderful day and get spoilt, as mums should!
Hugs
Angie
x