Wednesday, 15 May 2013

My Make Up Bag

Hiya
I have to say although this is only small its really pretty and I think suitable for any female event – even just a “hello” card
It was bought from www.cardmakingdownloads.com and is called My Make Up Bag – it was designed by Samantha Murphy
Its easy to make – not a lot of printing – if you want the envelope then its 4 sheets or just 2 without it!
So materials for this card I used ….
Heat mat to work on and protect your surface – I always use it...
pink a4 card
design sheet
Sticky pads
Eazi Score Board & tool
Tonic 8” guillotine
Scissors
Tweezers
Shaping tool from www.dimensionstamps.com
Foam shaping mat – stamping mat or even a mouse mat
To make the card …
The insert had a simple sentiment added prior to the printing – the main bag was cut out and then stuck to a sheet of pink card using Crafters Companion Stick & Stay then carefully cut out.
The base of the bag is 3 scored and folded lines then 2 tabs are glued and this holds the bag together.
After cutting out the decoupage it was built up using sticky pads – but only the top part of the panel.
The insert is cut out and stuck to the top back of the decoupaged area – this is so the insert will slip into the bag and the lower part of the decoupaged panel will hang over the front but it blends with the bag design.
The envelope pieces were cut out, scored and folded then glued together – I used photo glue and left it to set.
And that is your card for today!
As I said it really was quick and simple to make – I will add glitter and gems and maybe a dot or two of glossy accents but for now its on my work bench looking pretty!!!
This is another card that will be in the to use or for sale box.
Catch you again next time – same place folks
x

Tuesday, 14 May 2013

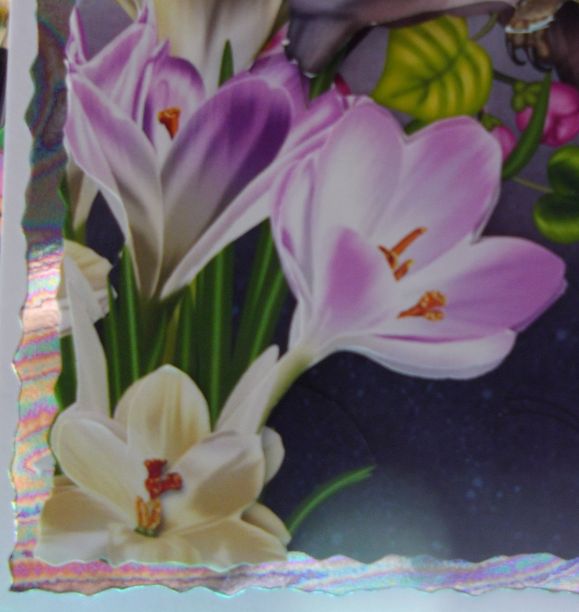
Purple Vintage Flowers

Hiya
The card for today was something I made before I had this craft room set up, so I had to go to a friends house in the village and use her craft room – computer – cds – paper – card, you get the picture lol
So its from the Debbi Moore Shabby Chic Vintage Flowers cd.
It was so easy to make but pretty and unusual too!
So materials for this card I used ….
Heat mat to work on and protect your surface – I always use it...
black a4 card
design sheet and backing sheet
glossy accents
Sticky pads
Eazi Score Board & tool
Tonic 8” guillotine
Scissors
Tweezers
Shaping tool from www.dimensionstamps.com
Foam shaping mat – stamping mat or even a mouse mat
To make the card …
I cut out all the elements needed from the design sheet then simply stuck one of the arched shapes onto the edge of the black card, then the half piece was glued next to the arch followed by the last arch...
I think I struck it lucky doing it that way – I left just the right space between so I could score and fold the pieces and they did fold flat on top of each other for folding too
I cut the shaped out then added a matching backing paper to the backs and cut away the excess.
As there were odd pictures of roses and some sentiments I just placed them randomly over the front and back of the card.
And that is your card for today!
As I said it really was quick and simple to make – had I spent more time on it I'm sure I could have really boosted it .. and if I had looked through the projects section I would have seen the same sort of card so could have followed the instructions and made life even easier!!
Oh well....
This is another card that will be in the to use or for sale box.
Catch you again next time – same place folks
x

Monday, 13 May 2013

Twilight Owls

Hiya
I made up this card today and I think the artwork is stunning!
It was a mini kit I bought at the weekend from www.scrapbookingmad.co.uk and was designed by someone I've not heard of before Karen Wyeth but I will certainly be on the look out for more that's for sure! The kit is called Twilight Owls should anyone be interested.
So materials for this card I used ….
Heat mat to work on and protect your surface – I always use it...
White 10”x7” card blank
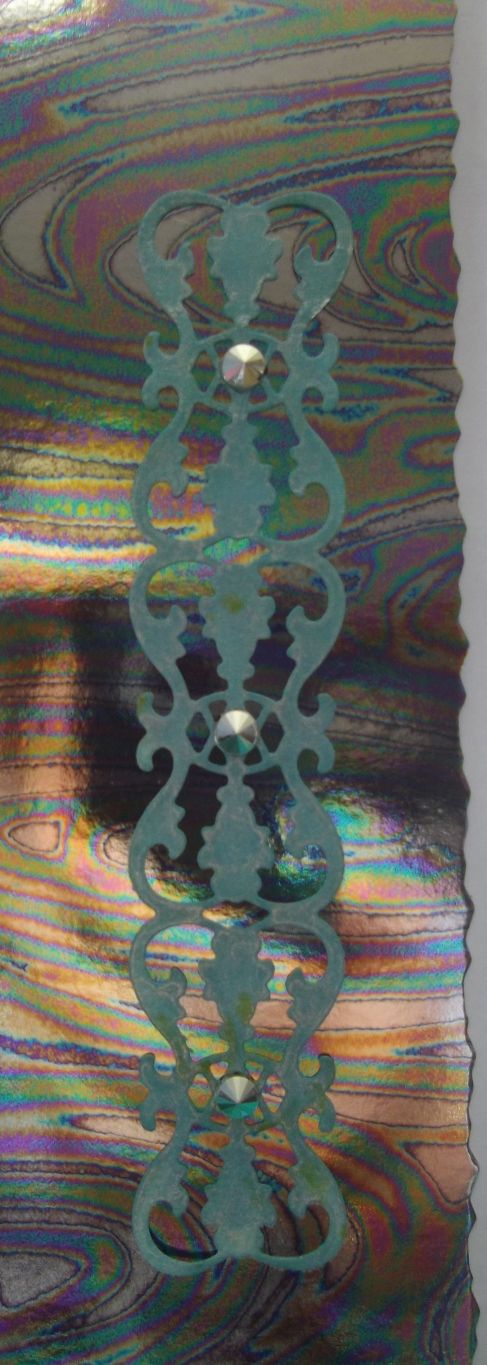
oil on water water
main image
fancy edge trimmer blade
die cut ornate border
silver flat back gems
glossy accents
Sticky pads
Eazi Score Board & tool
Tonic 8” guillotine
Scissors
Tweezers
Shaping tool from www.dimensionstamps.com
Foam shaping mat – stamping mat or even a mouse mat
To make the card …
The blank card was a bought one from what was once called Cupcake Crafting and measures 10”x7” so a great space to work with.
The oil on water card was trimmed to fit the card blank leaving a narrow border all round then stuck in place with double sided tape.
After cutting the base image from the sheet I trimmed the edges with the fancy edge blade in the trimmer only to then find when I stuck my decoupage on, the flower pieces needed to be fancy edged too...easy done!
Once the topper was in place I had the right hand side free so made use of a lovely border die I bought at the weekend, cut it from white card then coloured blue with Tim Holtz distress Ink pad then sprayed with perfect pearl mists for a lovely pearly shine.
I stuck 3 lovely black back flat silver gems to the ornate bar.
Once all the decoupage was added to the image I added glossy accents to the owls eyes and talons then to the pink flowers at the bottom.
And that is your card for today!
I love the kit and feel sure it was available in other colours so guess where I am going next....
This is another card that will be in the to use or for sale box.
Catch you again next time – same place folks
x


Sunday, 12 May 2013

Delightful Sunflower

Hiya
So sorry I didnt come on yesterday, my friends Beth & Mike who helped us move in own a beautiful canal boat which is moored near to Gainsborough – well she invited me to go and stay the night with them as she knew Pete had been doing a bird show Saturday and another was planned for today so I was on my own...well I too'd and fro'd but in the end said yes so they picked me up around 8pm and off I went – it was a wonderful night.
And so now back to the card for today – I am entering this one in the CD Sunday challenge blog as the theme fits the card – I hope!
The beautiful Sunflower topper was from the lovely new cd by Card Creations Plus its called Flowers In Bloom, if you haven't seen this cd then I recommend it highly, the art work is stunning.
So materials for this card I used ….
Heat mat to work on and protect your surface – I always use it...
Cream a4 card
bronze pearlescent paper
main image and backing paper.
Martha Stewart Loopy corner punch
sentiment
Small piece bronze holographic mirri card and butterfly punch
Sticky pads
Eazi Score Board & tool
Tonic 8” guillotine
Scissors
Tweezers
Shaping tool from www.dimensionstamps.com
Foam shaping mat – stamping mat or even a mouse mat
To make the card …
I created the A5 card blank by folding the cream card in half, then measured a piece of the bronze paper to fit the front – the 4 corners were then punched and the panel stuck to the card with double sided tape.
The backing paper was trimmed so it fitted inside the bronze panel, and again stuck in place.
I had printed a sheet of square sunflower toppers and choose this one as I was taken with the text around the image...so it was cut down then matted onto a piece of bronze holographic card.
Next I measured a square of bronze paper and punched the corners - the matted topper fitted perfectly into the corners.
A simple cream Jest To Say sentiment was stuck below the image with sticky pads.
I used the Papermania butterfly punch to punch out 2 butterflies – they were cut away from the mirri card and after bending the wings slightly I added double sided tape to the bodies only then stuck one below the sentiment and the other in the bottom left corner of the topper panel.
To finish I simply highlighted sections with the quickie glue pen and then sprinkled with glamour dust.
And that's it folks – one more card completed.
I had someone in mind when I made up this card – it was for our lovely new neighbours who called by last week with flowers and said hello...I was so sure I had seen a lovely verse somewhere about coming to our new home and having such lovely neighbours – well I couldn't find the verse so the card is just in the box now!
This is another card that will be in the to use or for sale box.
Catch you again next time – same place folks
x

Friday, 10 May 2013

Pink Rose With Cut Out Centre

Hiya
For anyone who has either followed me from the start or spent time looking back at what I have made in the past this card will look familiar.
But only when the card is open!!
I used Cupcake Bloomilicious and its set 13 should anyone else fancy having a go at it!
Have to say this is one cd I would hate to lose from my collection!
So materials for this card I used ….
Heat mat to work on and protect your surface – I always use it...
white a4 card
patterned silver mirri card
main image and backing paper.
Shaped nestability die
Victorian Velvet ink pad & brush
Small piece pink ribbon
Sticky pads
Eazi Score Board & tool
Tonic 8” guillotine
Scissors
Tweezers
Shaping tool from www.dimensionstamps.com
Foam shaping mat – stamping mat or even a mouse mat
To make the card …
To start with I folded the white card in half making my A5 card blank. I used the blending brush and Tim Holtz Victorian Velvet ink pad which coloured the edges of the card front.
Using the Cuttlebug and shaped die I cut out a panel from one half of the patterned backing paper, then using double sided tape I stuck this centrally on the card front.
The main image sheet was an easy to cut out pyramid design so using my paper trimmer I cut out the 5 pieces and matted them on top of each other using large sticky pads.
Next I cut a piece of patterned silver mirri card to fit as a mat for the design.
Using the nipped corner punch I used it on the main pyramid and the silver mirri mat
Large sticky pads were placed on the back of the silver mat and then this panel was secured to the card front.
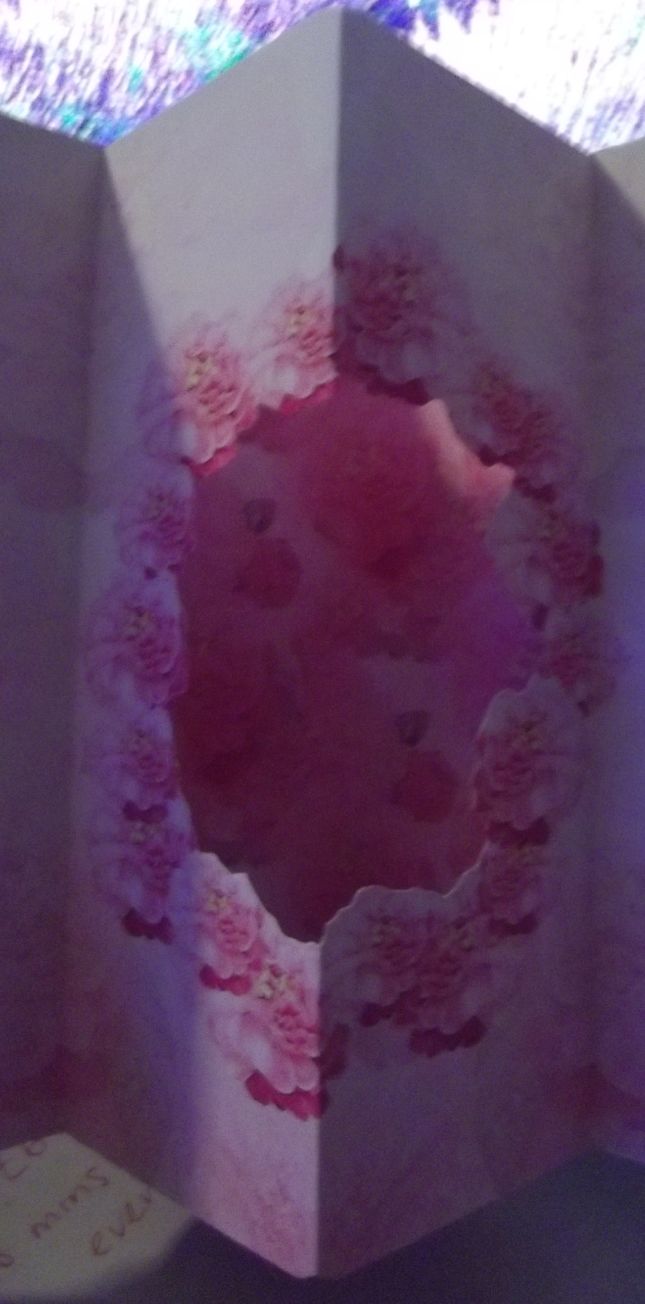
Onto the insert now – I started by removing all the white area in the centre, then folded in half and then the front and back in half again as in a gatefold card.
I added double sided tape to the outer most pieces and put to one side for now.
Taking the left over backing paper I folded it in half, added double sided tape to the outer edges, placed into the fold of the card, removed one piece of backing from the tape then turned the whole card over and removed the other backing.
This now partly covered the very inside centre.
So back to the main insert with the cut out centre, I lined up the left hand side, removed backing tape and secured in place.
I closed the card and pressed firmly so the insert stuck.
Opening the card up again I was able to remove the last piece of backing paper from double sided tape and secured the insert firmly in place.
And that's the card completed.
The inside of the card looks so pretty with the paper in the inside centre and the pop out cut out centre of the insert – not forgetting the contrasting Birthday sentiment
I have a baw ready to go on the card front and may add a touch of glitter or some glossy accents – as yet I haven't decided.
This is this weeks class project so I hope the ladies will enjoy making it!
This is another card that will be in the to use or for sale box.
Catch you again next time – same place folks
x

Thursday, 9 May 2013

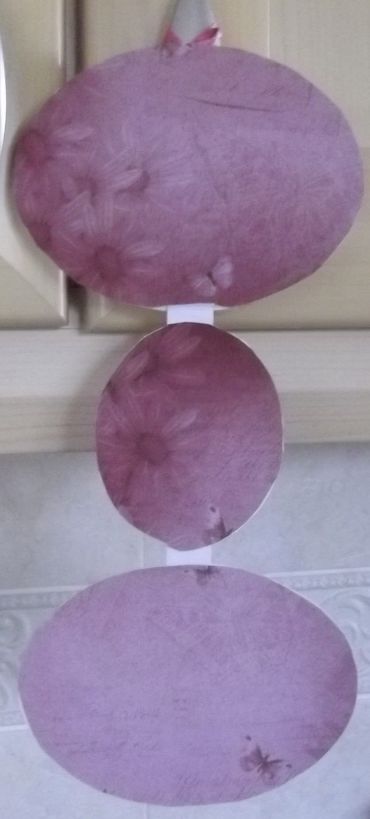
Special Day Hanger

Hiya
This project was something I made as a late card/gift and forgot to send so its sat here now
I used the design sheet and a backing paper from one of Debbi Moore cds – I have a feeling it was Shabby Chic Vintage Flowers as that is a favourite cd of mine.
So instead of the card its a hanging and looks quite pretty too!
So materials for this card I used ….
Heat mat to work on and protect your surface – I always use it...
silver holographic card
main image and backing paper.
Small piece pink ribbon
Sticky pads
Eazi Score Board & tool
Tonic 8” guillotine
Scissors
Tweezers
Shaping tool from www.dimensionstamps.com
Foam shaping mat – stamping mat or even a mouse mat
To make the card …
I cut out the 3 oval images from the design sheet as well as the paper ribbon.
The 3 images were stuck directly to silver holographic card and cut out leaving a narrow border.
I turned the 3 images over and stuck the paper ribbon down and over them to hold them in the hanger, then used a piece of pink satin ribbon to form the top hanger – this was then held in place with cellotape.
After that I covered the back of each oval with the backing paper and trimmed to fit.
And that's the card completed.
I didn't add anything to it – normally I would add glitter and/or gems but will do when I know what its used for.
Also I didn't make too good a job of the backs in one or two places so I'm going to used a versamark pad and heat emboss the edges for a nice even finish.
This is another card that will be in the to use or for sale box.
Catch you again next time – same place folks
x

Wednesday, 8 May 2013

For The New Home

Hiya
I'm back....
Was I missed? Well going by the many emails and texts I have had I think I can safely say YES!
Well we are now settled into our lovely bungalow – a huge thank you to everyone who sent us cards – we have had so many arrive.
I have the craft room laid out how I want it – its still far from sorted – I have simply pushed all the stuff I don't use often under the new desk – so will unpack that lot as and when I am ready
BUT – good news...
I have a card to share!!!
Ok so its nothing outstanding but it was made with love – and a special thank you to my friend Nicky who kindly let me run loose in her craft room as when I made this I didn't have mine up and running.
The image and paper are from Joanna Sheen – Holly Pond Hill.
So materials for this card I used ….
Heat mat to work on and protect your surface – I always use it...
mid blue a4 card
blue holographic card
a5 piece of silver grey card
main image and backing paper.
Sticky pads
Eazi Score Board & tool
Tonic 8” guillotine
Scissors
Tweezers
Shaping tool from www.dimensionstamps.com
Foam shaping mat – stamping mat or even a mouse mat
To make the card …
The mid blue card was scored and folded into an A5 card blank.
I trimmed the backing paper so the pretty floral design was down the right hand side, then stuck it to the card with double sided tape,
The main image was cut out and matted onto some lovely dark blue holographic card, then matted again onto the silver grey card – leaving an even all round border with each layer.
The matted image was stuck to the card front with double sided tape – it was positioned towards the left side so as not to cover and lose any of the flower border.
The New Home sentiment was again trimmed down, matted first onto blue holographic then the silver grey card.
This was stuck in place with double sided tape – centrally under the main image.
And that's the card completed.
I didn't add anything to it – normally I would add glitter and/or gems but it worked just as it was and my friend from class Pat and her hubby liked it so that's all that matters.
Catch you again next time – same place folks
x