Hello
again
Today's
card is another that we have done in the class recently
Not
too sure of the name of the kit – nor who designed it but its very
pretty
I
have called it side fold pansies which I think could be the correct
name

Anyway
to make this card I roughly cut out the main sheet then sprayed the
back with Crafters Companion Stick & Stay and secured the sheet
to purple card

The
score lines were creased then the 2nd piece was stuck so
it was back to back
I
then carefully cut out the card shape

Occasionally
I found the side I had facing me was cut correctly but when I looked
at the reverse it still had white showing so I had to keep on
chipping away at it until eventually I had the design front and back
the same.
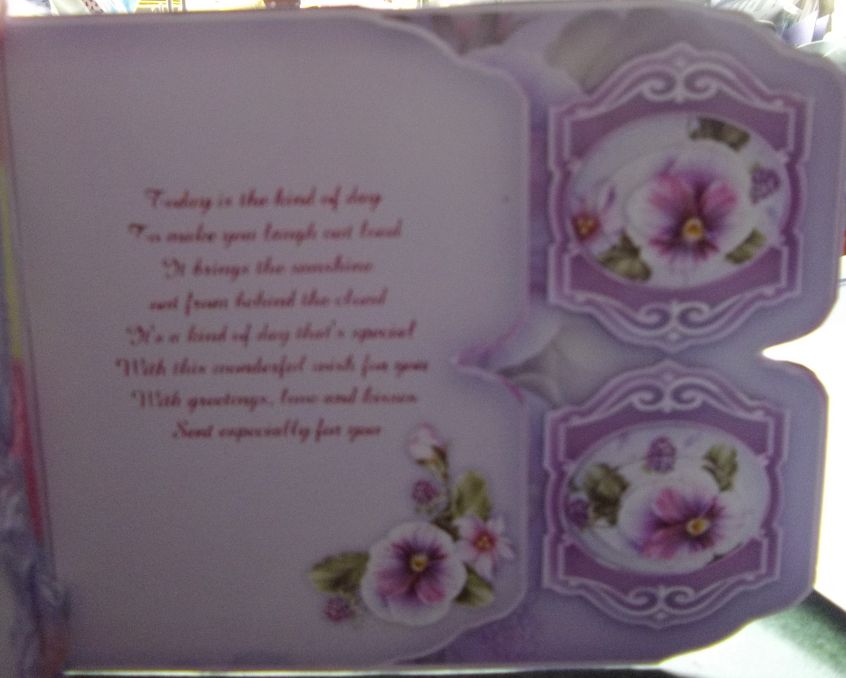
I
then cut out the sentiment and attached it to the blank plate with
sticky pads
The
pretty ornate designs were cut out and again using sticky pads they
were attached to the edge of the card

The
oval pyramage was cut out and stuck to the inside of the ornate
designs.
I
added a sentiment to the insert prior
to printing the mini kit and although the photo is blurred it looked lovely
All
that remained was to decorate the card – I added several strands of
assorted fibres to the spine as in the odd place the paper had
cracked when scored and the fibres hide it a little
Although
you cant see in the photos – mainly because I decorated after the
photos were taken, I added a touch of glitter to the flowers to set
them off.
I
also used gems in places and glossy accents
Shame
I didn't take a photo of the finished card – that is when it was
embellished.
Never
mind
I
know the explanation is pretty short with this card but there really
wasn't a great deal to the kit
Having
said all of that – I do hope you like the card
See
you again soon
x
Lovely card, Angie. Beautiful colours. xx
ReplyDelete